The importance of compressors in every industry including car repair shops or other vehicles.
Some painting results are uneven or not smooth, resulting in a non-glossy surface, or blotches on the paint surface.
In the previous article, we discussed the importance of compressors in every industry including car repair shops or other vehicles. The use of compressors in workshops is applied to the painting process, where this process also requires a long time to repair vehicle conditions such as peeling on vehicle paint caused by corrosion.
There are many things that we must pay attention to in the car painting process, one of which is that you must have understood how to operate painting by utilizing a compressor. Because not all industries in the car body painting process can work perfectly. Some of them include uneven or unsmooth painting results, which cause the surface to not be shiny, and due to the presence of spots on the paint surface.
Painting the car with small air compressor is a relatively simple job that requires minimal tools and materials. It also provides excellent results, if done correctly. If you want to customize or repair your car with a small air compressor, here are 10 easy steps to get the job done, including the following:
1. Cleaning the vehicle first : Start by washing and drying the entire car to remove dirt and debris.
2. Rust Removal: Use rust remover or sandpaper to remove rust damage from the surface before painting.
3. Sand Your Car: Use fine sandpaper to smooth out dents, scratches, and other imperfections.
4. Clean Back: Wipe down the entire car with a tack cloth or lint-free rag to remove any remaining dust and dirt.
5. Provides a coating to the vehicle: Apply a section of primer designed for use with an air compressor, allowing it to dry completely before proceeding.
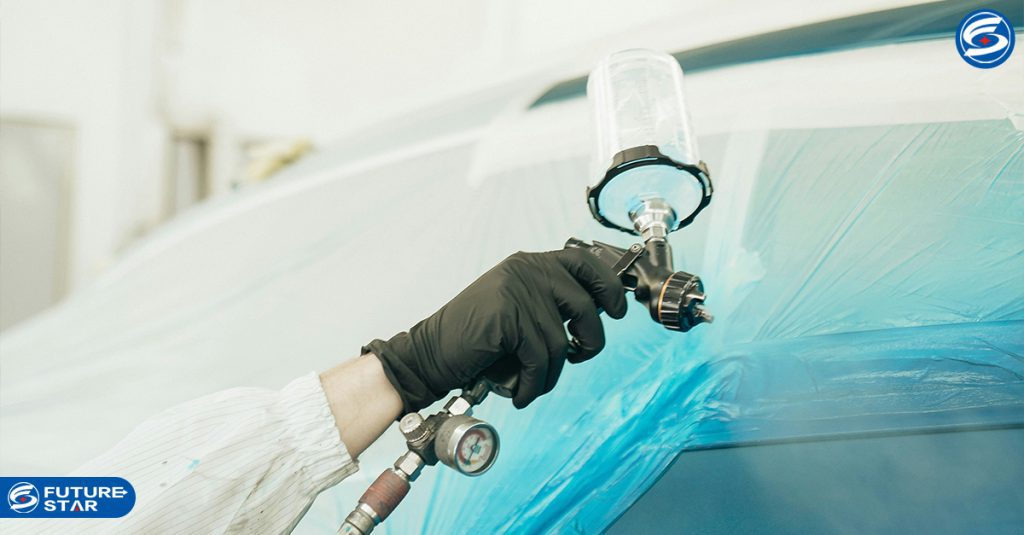
6. Cover areas that cannot be painted: Use tape and plastic sheeting to cover all non-paintable areas such as windows, edges, etc.
7. Preparing your Air Compressor: Connect your air hose to fitting on the compressor, then install an adjustable pressure regulator and humidity filter if necessary for your compressor model.
8. Start painting the vehicle: Set the compressor pressure to the correct psi and select your paint type. Use a spray gun with the appropriate size nozzles and start painting. Ensure that the spray gun moves in an even and parallel motion for an even finish.
9. Let it dry and heal: Allow the paint to dry thoroughly before touching it up or applying additional coats of paint; this can take several hours depending on the ambient temperature and humidity levels.
10. Clean up: Disconnect all hoses from your air compressor, and clean them with soap and water before storing your equipment for later use.


